Note
Download notebook and run it offline.
Tutorial02 - Randomization
Overview
🚀 By the last tutorial, you have learned the concept of Actor, Level and Sequence. In this tutorial, you will learn how to add random transform keys to an Actor in order to render multiple poses of it. By the end of this tutorial, you will be able to:
Initialize XRFeitoria
Import
Actorand label it bystencil valueSet the scale of
Actorin theLevelCreate a
Sequencefor rendering and adding transform keys toActorAdd a camera in the
SequenceRender images and annotations
1. Initialization
Install the following packages that will be used in this tutorial:
[ ]:
%pip install objaverse
%pip install scipy
Then, similar to Tutorial01, specify your engine path and initialize XRFeitoria.
[ ]:
import xrfeitoria as xf
[ ]:
# Replace with your executable path
engine_exec_path = 'C:/Program Files/Blender Foundation/Blender 3.3/blender.exe'
# engine_exec_path = 'C:/Program Files/Epic Games/UE_5.2/Engine/Binaries/Win64/UnrealEditor-Cmd.exe'
[ ]:
from pathlib import Path

exec_path_stem = Path(engine_exec_path).stem.lower()
if 'blender' in exec_path_stem:
    # Open Blender
    render_engine = 'blender'
    xf_runner = xf.init_blender(exec_path=engine_exec_path, background=False, new_process=True)
elif 'unreal' in exec_path_stem:
    # Unreal Engine requires a project to be opened
    # Here we use a sample project, which is downloaded from the following link
    # You can also use your own project
    import shutil

    from xrfeitoria.utils.downloader import download
    unreal_project_zip = download(url='https://openxrlab-share.oss-cn-hongkong.aliyuncs.com/xrfeitoria/tutorials/unreal_project/UE_Sample.zip',
                                    dst_dir="./tutorial02/assets/")
    shutil.unpack_archive(filename=unreal_project_zip, extract_dir='./tutorial02/assets/')

    # Open Unreal Engine
    render_engine = 'unreal'
    xf_runner = xf.init_unreal(exec_path=engine_exec_path,
                                background=False,
                                new_process=True,
                                project_path='./tutorial02/assets/UE_sample/UE_sample.uproject')
✨ Now you can see a new Blender/Unreal Engine process has started.
2. Import meshes
Download some meshes from Objaverse.
[ ]:
import objaverse

objects = objaverse.load_objects(
    uids=['eb0807309530496aaab9dcff67bf5c31',
          'b4065dd5ce9d46be90db3e1f3e4b9cc1',
          '0176be079c2449e7aaebfb652910a854',
          'f130ebeb60f24ed8bd3714a7ed3ba280',
          '289a2221178843a78ad433705555e16a',
          'b7f7ab9bf7244c3a8851bae3fb0bf741',
        ],
    download_processes=1
)
Import the meshes to create Actor instances in the Level.
Here we set different stencil_value for each Actor. The stencil value is used to distinguish different Actors when rendering segmentation masks.
[ ]:
actors = []
for idx, file_path in enumerate(objects.values()):
    actor = xf_runner.Actor.import_from_file(
        file_path=file_path,
        stencil_value=(idx+1)*10
    )
    actors.append(actor)
Switch to the engine window, and you can see the meshes has been imported.
Then, we adjust the scale of the Actors to make their sizes equal to 0.3m.
[ ]:
actor_size = 0.3
for actor in actors:
    _scale = actor_size / max(actor.dimensions)
    actor.scale = (_scale, _scale, _scale)
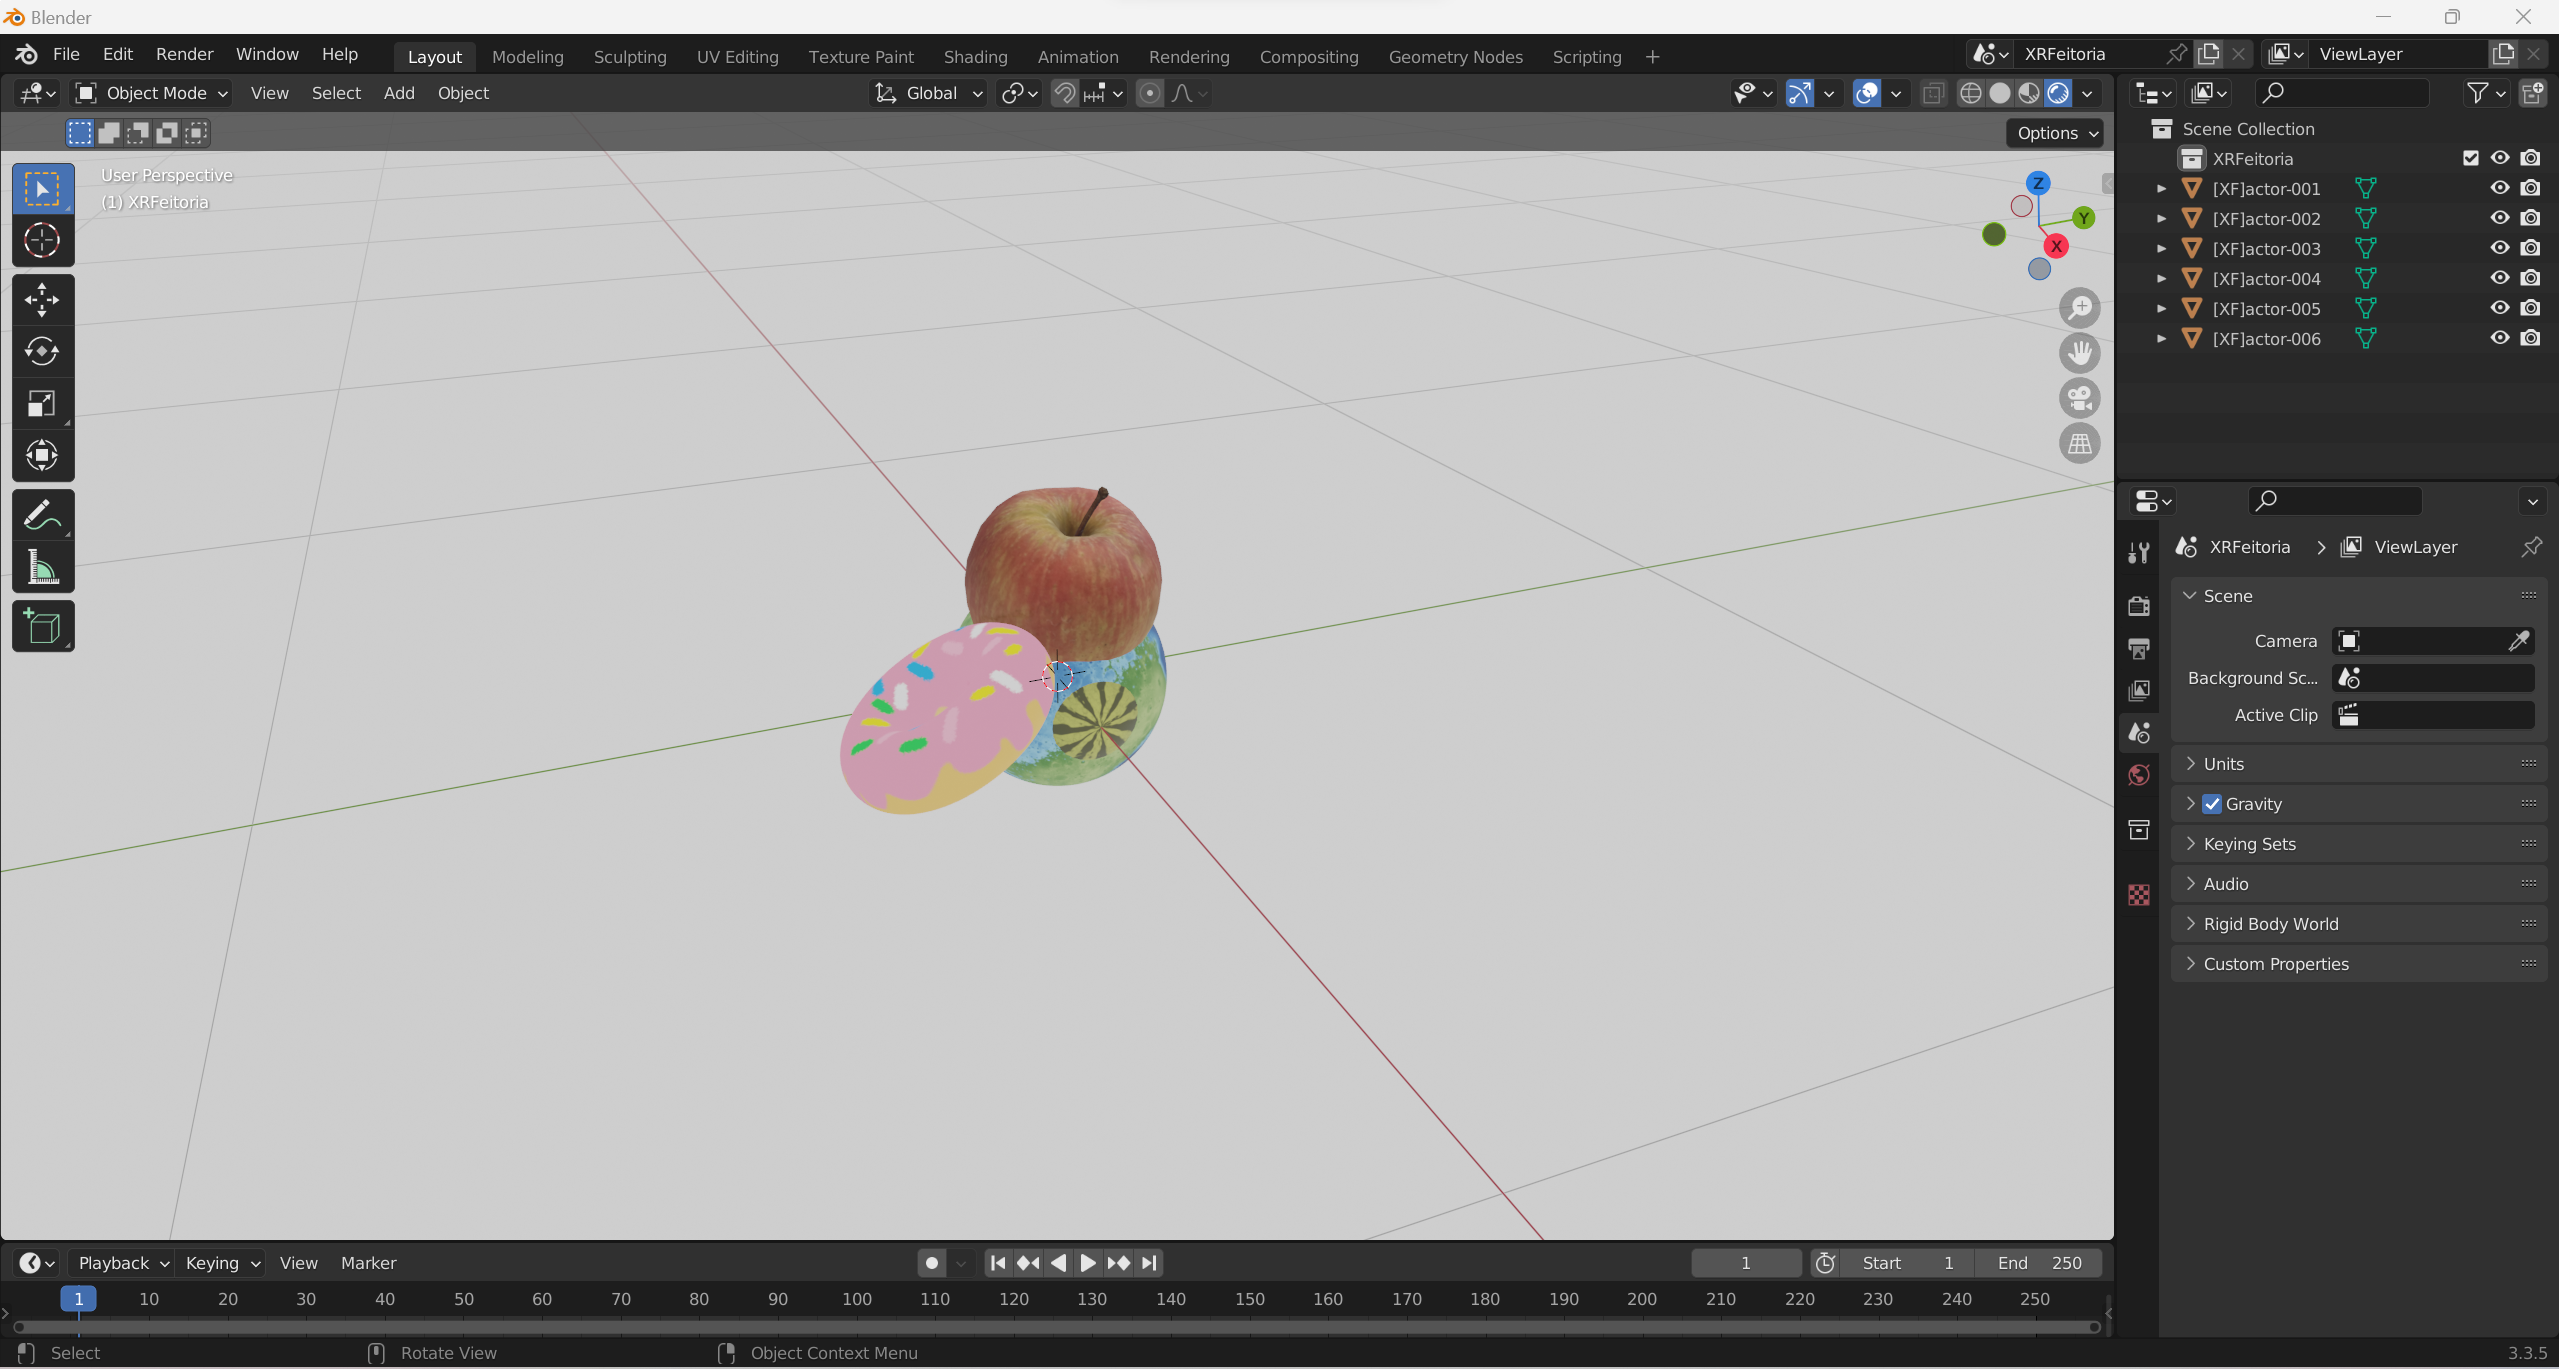
Now they look like:
Blender
Unreal Engine

If you use Unreal Engine, the Level should be saved after been modified.
[ ]:
# save the level
if render_engine == 'unreal':
    xf_runner.utils.save_current_level()
3. Add a sequence for rendering and adding transform keys
Sequence is a multifunctional class in XRFeitoria. It can be used for: - rendering - adding transform keys - grouping different objects.
Here, we use it for rendering and adding transform keys.
Transform keysrecord the transformation (location, rotation and scale) of anActoror aCameraat specific frames, and the transformation between two adjacent keys will be interpolated by the specified interpolation method. By adding transform keys, you can render multiple poses of anActor.In
XRFeitoria, transform keys are always stored in a list, and the members of the list are SequenceTransformKey object.
Firstly, we randomly generate some transform keys for each actors.
[ ]:
import random

from loguru import logger
from scipy.stats import qmc

from xrfeitoria.data_structure.models import SequenceTransformKey as SeqTransKey

# Set the number of frames
frame_num = 10

# Use a dictionary to store the transform keys of all actors
all_actors_transform_keys = {actor: [] for actor in actors}

# Iterate over all frames
for i in range(frame_num):

    # Generate random locations by Poisson Disk Sampling
    # The minimum distance between two actors is set to be `actor_size` we defined before
    posson_engine = qmc.PoissonDisk(d=2, radius=actor_size)
    sample_location = posson_engine.random(len(actors))

    # Set the transform keys for each actor
    for actor_idx, actor in enumerate(actors):
        actor_scale = actor.scale

        # Get the location from the samples generated by Poisson Disk Sampling
        random_location = (sample_location[actor_idx][0],
                           0.0,
                           sample_location[actor_idx][1])

        # Generate random rotations
        random_rotation = (random.random() * 360.0,
                           random.random() * 360.0,
                           random.random() * 360.0)

        # Generate random scales
        scale = random.uniform(0.5, 1.0)
        random_scale = (scale * actor_scale[0],
                        scale * actor_scale[1],
                        scale * actor_scale[2])

        # Save the transform keys
        all_actors_transform_keys[actor].append(
            SeqTransKey(
                frame=i,
                location=random_location,
                rotation=random_rotation,
                scale=random_scale,
                interpolation='AUTO',
            )
        )
    logger.info(f'Generated transform keys of frame {i}.')
Then we create a Sequence to apply the transform keys to the actors and render the images.
[ ]:
from xrfeitoria.data_structure.models import RenderPass

# Use the `with` statement to create a sequence, and it will be automatically close the sequence after the code block is executed.
# The argument `seq_length` controls the number of frames to be rendered.
sequence_name = 'MySequence'
with xf_runner.Sequence.new(seq_name=sequence_name, seq_length=frame_num, replace=True) as seq:
    ##############################
    ##### Add transform keys #####
    ##############################

    # The function `use_actor_with_keys` sets transform keys for the actor in the sequence.
    # The transform keys are only stored in the sequence.
    # When the sequence is closed, the actor will be restored to its original state(without transform keys).
    for actor, keys in all_actors_transform_keys.items():
        seq.use_actor_with_keys(actor=actor, transform_keys=keys)

    #####################
    ##### Rendering #####
    #####################

    # Add a camera and make it look at the specified location
    camera_location = (0.5, -3.0, 0.5)
    camera_rotation = xf_runner.utils.get_rotation_to_look_at(location=camera_location, target=(0.5, 0.0, 0.5))
    camera = seq.spawn_camera(location=camera_location, rotation=camera_rotation, fov=45)

    # Add a render job to renderer
    # In render job, you can specify the output path, resolution, render passes, etc.
    # The ``output_path`` is the path to save the rendered data.
    # The ``resolution`` is the resolution of the rendered image.
    # The ``render_passes`` define what kind of data you want to render, such as img, depth, normal, etc.
    # and what kind of format you want to save, such as png, jpg, exr, etc.
    seq.add_to_renderer(
        output_path=f'./tutorial02/outputs/{render_engine}/',
        resolution=(1280, 720),
        render_passes=[RenderPass('img', 'png'),
                       RenderPass('mask', 'exr'),
                       RenderPass('normal', 'exr'),
                       RenderPass('diffuse', 'exr')],
    )
4. Render
The following code renders all the render jobs and save the images to the output_path set in seq.add_to_renderer above.
[ ]:
# Render
xf_runner.render()
Check the output_path, and you can see the rendered images and their annotations. Visualize the images and annotations by the following code.
[ ]:
import matplotlib.pyplot as plt

from xrfeitoria.utils.viewer import Viewer

xf_viewer = Viewer(sequence_dir=f'./tutorial02/outputs/{render_engine}/{sequence_name}/')

for i in range(frame_num):
    img = xf_viewer.get_img(camera_name=camera.name, frame=i)
    mask = xf_viewer.get_mask(camera_name=camera.name, frame=i)
    normal = xf_viewer.get_normal(camera_name=camera.name, frame=i)
    diffuse = xf_viewer.get_diffuse(camera_name=camera.name, frame=i)

    plt.figure(figsize=(20, 20))

    plt.subplot(1, 4, 1)
    plt.imshow(img)
    plt.axis('off')
    plt.title('img')

    plt.subplot(1, 4, 2)
    plt.imshow(mask)
    plt.axis('off')
    plt.title('mask')

    plt.subplot(1, 4, 3)
    plt.imshow(normal)
    plt.axis('off')
    plt.title('normal')

    plt.subplot(1, 4, 4)
    plt.imshow(diffuse)
    plt.axis('off')
    plt.title('diffuse')
Hint: When using Unreal Engine, if the images of the mask look weird, try running the notebook again.
Finally, close the engine by:
[ ]:
# Close the engine
xf_runner.close()
Ref to api docs, you can always use with statement to ensure the engine is closed when the codes are finished.